by Cass Jenks
The perfect daysack fits comfortably and carries everything you need on your adventure, ideally in a way that’s easy to access. It’s a critical bit of kit, protecting you from backache and compromise — on cameras, trailside snacks, warm layers and more.
Here are a few things to consider during the buying process to make sure you find the ideal daypack, including how to calculate your size.
To work out the right capacity for your needs, decide what you mean to carry in your pack. The Contours Kit List (specialised for walkers, runners and cyclists) is a good starting point that you can customise for yourself.
It’s well-worth laying out everything you want with you on the trail to get a proper feel for your daily load. Here’s roughly what you can expect to fit in 10, 14 and 20-litre bags:
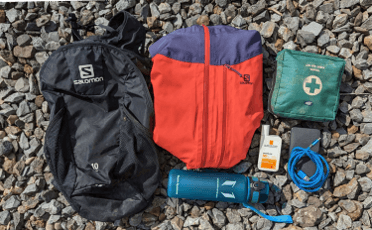
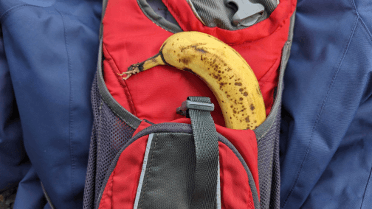
A 10-litre bag carries the bare essentials and sometimes struggles even with those, especially if you need to carry a full set of waterproofs. These bags are great for half-day jaunts, but prove lacking on longer adventures.
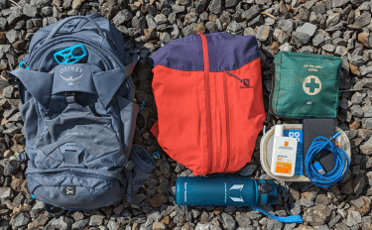
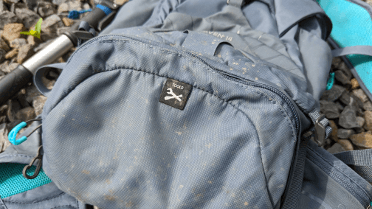
A 14-litre bag adds some space for lunch. This particular bag is a hugely structured rucksack with plenty of innovative pockets and slings, so it can take a little more without risking a ruptured zipper.
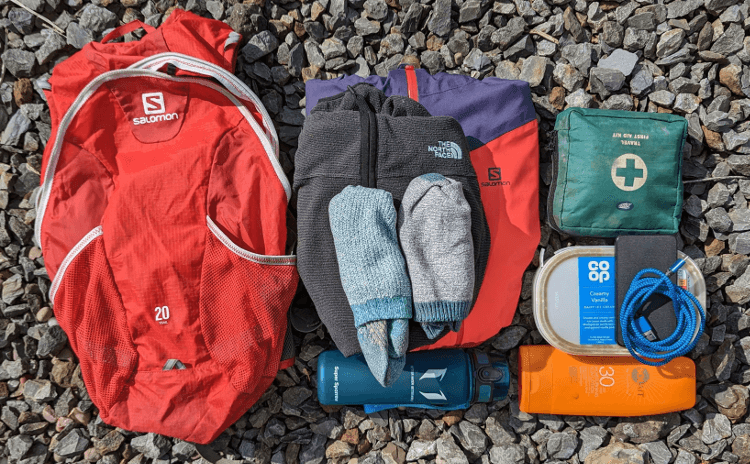
At 20 litres of capacity and more, you’ll have no problem bringing a spare midlayer (and even the full-sized bottle of sunblock!) with room for extras. Here I’ve packed a few spare socks, but a rolled-tight sitting mat is another good option for comfort.
While your average commute-focused backpack might have an internal laptop divider and an exterior pocket or two, rucksacks aimed at romping around the great outdoors tend to be much more innovative. If you look, you’ll find all sorts of interesting pockets, some of which may prove to be game-changing.
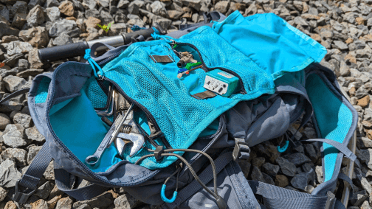
An external mesh pouch, trimmed with elastic, is pretty much an essential feature at this point. Nevermind the pack, you can rate your walking partner based on how willing they are to rummage in that outer pocket for your sunscreen/chocolate bar/compass/the map while you keep your rucksack squarely on your shoulders.
A waterproof cover you can pull over your pack like a shower cap when it rains can be just as invaluable, especially if your rucksack is cleverly designed with a dedicated pouch in which to stow the thing away when the weather brightens. No-one wants that soggy cover loose in their bag’s main pocket.
Similar external pouches and slings are great for used waterproofs of all kinds, from jackets to gaiters.
If you use walking poles, you may want to look for dedicated pole-carrying straps for those, too. Some rucksacks deploy a simple loop you can slip your poles through, while others carry them more securely with multiple ties.
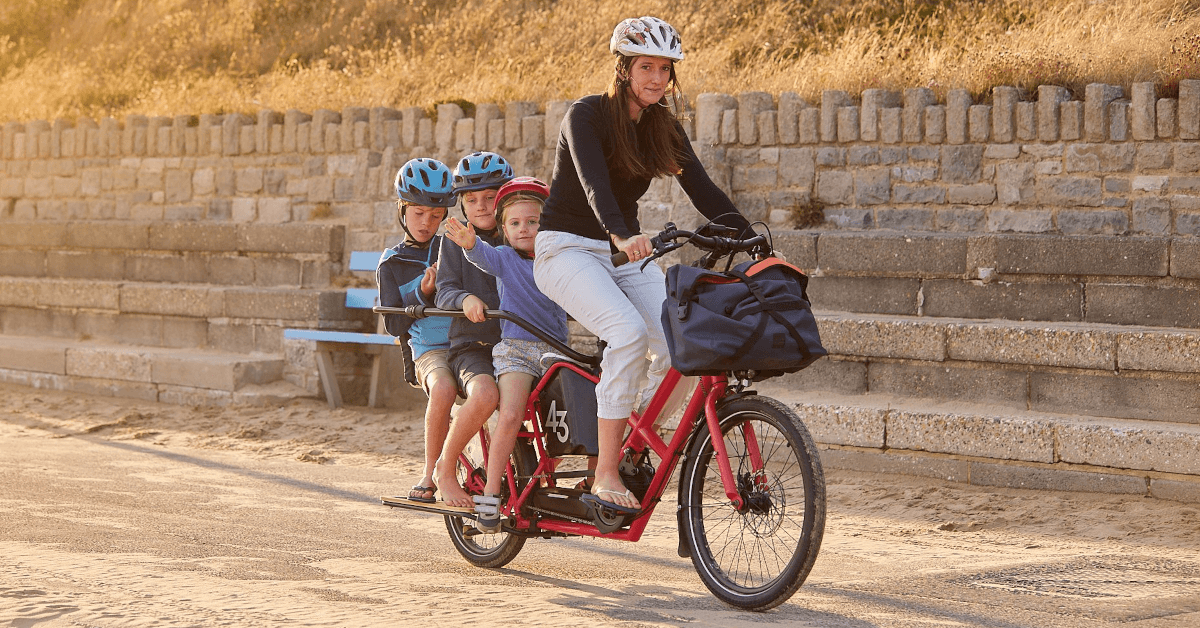
Cyclists should keep an eye out for helmet attachment systems — the perfect way to free up your hands when you’re off the bike in search of lunch or check-in at your latest comfortable hotel.

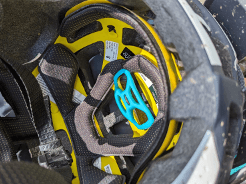
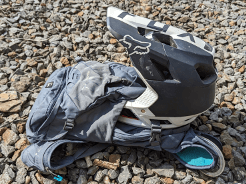
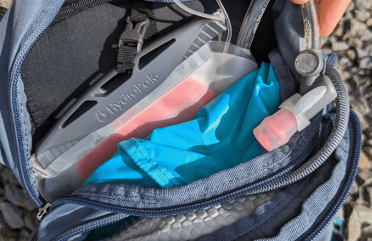
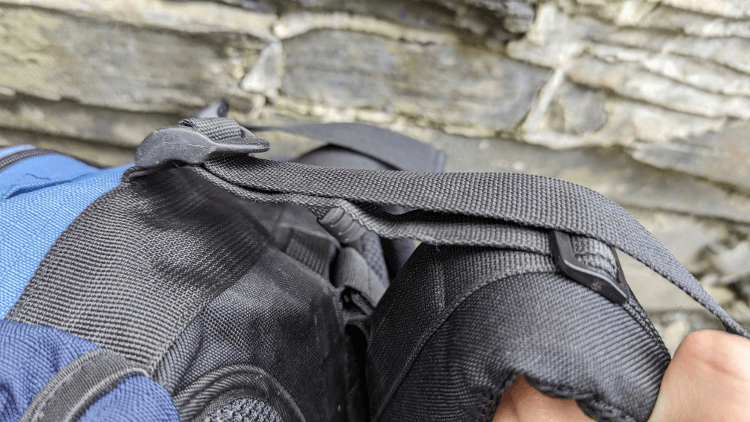
Attaching a helmet: This plastic toggle, attached with elastic, slips sideways through the holes in a helmet before twisting to hold it in place. Here it is fed through into the inside of a full-face helmet, which it wasn’t really designed for, while a more secure attachment using the bag's outer straps is shown on the far right.
It’s well-worth double checking the attachment fits your particular helmet. This is especially important if you wear a full-face lid: the elastic is unlikely to be long enough, so a sling or strap may be a better option for you.
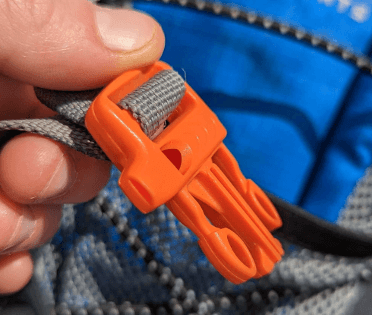
For use in an emergency: A buckle that doubles up as a whistle.
Most important of all, have a good look for a whistle or a place to mount yours. Sternum straps are the ideal mounting spot, and plenty of bags have a whistle fully built into the buckle so you’ll never be without.
As an unlikely aside, you might spot a hole for earphone cables in some bags, too.
These might seem pointless if you’re no great fan of listening to music on the trail, but the hole can be handy if you can wiggle a USB cable through it.
Pop a portable power pack in your bag, connect up your phone and you’ve got all-day battery for your mobile map app, with no worries about snagging the cable in a zipper or suffering water ingress.
Now that you know exactly what you’re looking for in terms of capacity and features, let’s discuss how to buy a bag that fits you snugly. There’s nothing worse than a rucksack that bounces, slips or sits poorly on your body. Nevermind the annoyance; given enough time, it’s sure to cause backpain.
Most companies produce bags in the usual small, medium and large configurations. These sizes are based on the wearer’s torso length. You’ll want to have a friend on hand to take that measurement.
First, find your iliac crest. This is the top of your hip bone on either side, roughly in line with your belly button.

Have your friend measure you from the tip of the iliac crest, which is the point directly beneath your armpit, up to your C7 vertebra. This is the vertebra right at the base of your neck, the one that juts out the most when you look straight down at the ground.
Once you have that measurement, check the tags on rucksacks in the shop or visit the manufacturer websites to see which size range you fall into.
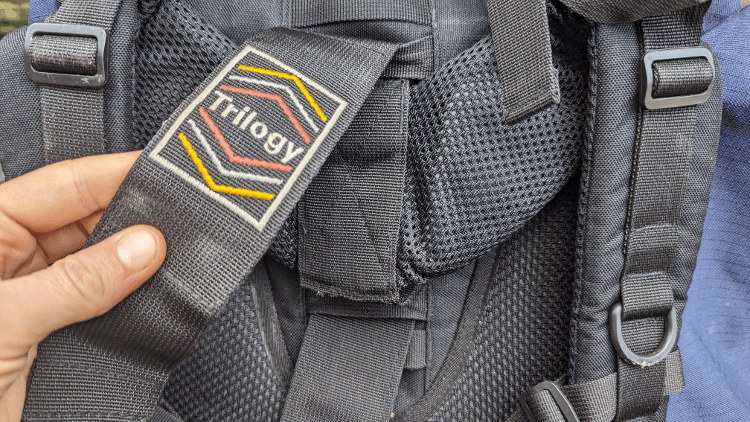
All bags will feature some adjustment in the shoulder and hip straps. More elaborate and higher capacity bags will also incorporate straps such as load-lifters.
To adjust your bag correctly, loosen all the straps and put the bag on. Generally, it’s best to get a rough idea of fitment on the first pass, then load the bag and go again to fine-tune. So don’t agonise too much on the first go — you’re only making sure the pack is the right size for your body.
Tighten the hip belt first. Secure the straps around your waist with the buckle and pull on the loose ends to tighten the belt. It should be snug but not so tight it pinches.
A hip belt that fits well will sit comfortably across your hip bone. The padding should extend around the front of your hip bone but shouldn’t come too far around your belly.
Try the shoulder straps next. While adjusting these, keep in mind that for a pack to fit well, 80% of the load should go through your hips and only 20% through your shoulders. You don’t want to tighten the shoulder straps so intensely that you redistribute the weight higher up your body.
To adjust your shoulder straps, first pull the straps forward and then down toward your hips to settle the pack against your back. Then pull the loose ends to tighten the straps. Correctly fitted, the straps should cling to your shoulder and back without any gaps. If you can’t close those gaps, the bag may be too long in the torso.
If your bag allows you to adjust torso length, that’s what you should adjust next. As these systems vary from bag to bag, you’ll need to use the manufacturer’s instructions to set your bag up correctly.
Note that lightweight daypacks are less likely to include this kind of fine-tuning, so don’t judge a daypack too harshly if it lacks this feature. If your shoulder straps have an uncloseable gap, however, that suggests you’ll need to try a smaller size.
Next, if your bag has load-lifters (secondary straps linking the top of your shoulder straps to the top of the bag) adjust these so they sit comfortably at a 45-degree angle. Again, these straps are less common in low-capacity bags.
Finally, adjust your sternum strap.
If yours is height-adjustable, you’ll want to slip it to about three fingers’ width beneath your collar bone.
To tighten the strap correctly, do up the buckle, and with only a feather grip on the loose end of the strap, pull it tighter until it slips between your fingers.
This strap is purely present to keep the bag snug on your body; it shouldn’t take any weight. If your sternum strap is too tight, it’ll alter the way the bag sits on your back and may also deform your shoulder straps.
Once you’ve run through these steps once, fully load the bag and feel for where the weight is sitting on your body. If it’s not primarily through your hips, consider reworking those shoulder straps and any torso adjustment.
If that doesn’t solve the issue, the bag is in the wrong size or simply doesn’t suit your proportions.
Take it for a test run! Even the best bags take a few wears to get truly comfortable, and packing is a fine art in itself. Figure out the right order to pack your things and puzzle out how to get the most from each corner of your pack and you’ll have an even better time on the trails.
Happy holidaying!

Marketing and Strategy Consultant
Writer, editor and Google-wrangler at Contours Holidays, Cass spends each weekend on the trails, walking the dog or plummeting downhill along Wales’ best mountain biking tracks.